Introduction to Using New SMART Boards
Welcome to the exciting world of interactive learning and collaboration with SMART Boards! SMART Boards are interactive whiteboards that allow you to engage with digital content in an interactive and dynamic way. Whether you’re an educator in higher education or K-12, SMART Boards can transform the way you teach, learn, and work.
In this introduction, we’ll cover the basics of using new SMART Boards and get you started on your journey toward more interactive and effective communication.
Getting the SMART board ready for class
STEP-BY-STEP INSTRUCTIONS
1. Powering Up:
- Locate the power button on the SMART Board on the lower right corner of the board.
- Press the power button to turn on the SMART Board. It may take a moment to start up.
2. Calibration:
- The SMART Board may need to be calibrated. Calibration ensures that the touch or pen input is accurately registered.
- If you are not able to do this on your own, please contact Kate Shively or Jonathan Hendrix for support.
3. Using Touch and Pen:
- SMART Boards support touch and pen input. You can use your finger for touch input or a pen for more precise control.
- Interact with the content on the board by tapping, dragging, or writing.
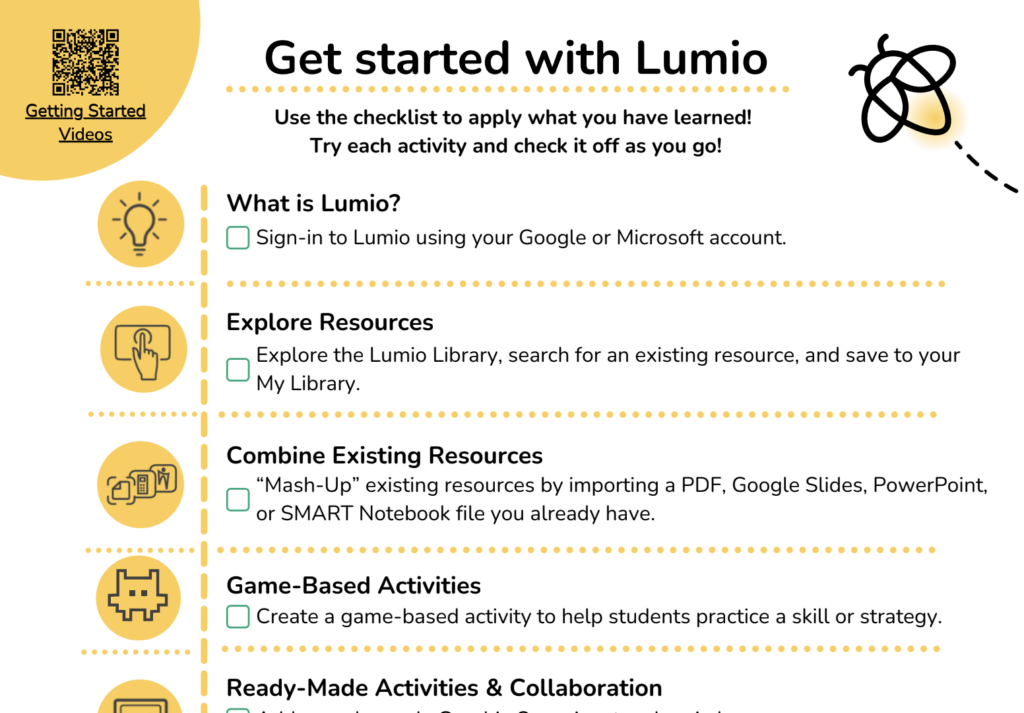
4. LUMIO:
- SMART Boards come with proprietary software, LUMIO, that enhances their functionality. This software allows you to create, save, and share interactive lessons or presentations.
- Explore LUMIO’S features, such as digital ink, shape recognition, and multimedia integration.
- LUMIO also offers free online tutorials that are self-paced and helpful in getting you started.
- If you are having trouble getting started with LUMIO, please contact Kate Shively for a 1:1 appointment to troubleshoot and determine initial steps to getting started.
6. Connecting Devices:
- You can connect various devices to the SMART Board, such as laptops, tablets, or smartphones. This enables you to display and interact with content from these devices on the board.
- Use the appropriate cables (e.g., HDMI cords) or wireless connectivity options (i.e., Bluetooth) to connect your devices.
- You need to be on the same network to mirror or share your screen – be sure to check a device’s networks.
7. Saving and Sharing:
- SMART Boards often allow you to save your work or presentations digitally. This makes it easy to revisit or share your content later.
- Explore how to save and export files in the SMART Board software. Tutorial links will be shared shortly (as of Sept 15 2023)
- Remember, you can also save your lessons in LUMIO or via Google Drive. By doing so, you and your students can access the lessons anywhere.
8. Additional Features:
- SMART Boards may include additional features like on-screen keyboards, screen recording, and interactive widgets. Familiarize yourself with these tools to enhance your presentations.
- There are pre-installed games and activities to use on the SMART board. Explore the features by clicking on the various icons and links in the left side bar.
- You can also create a password to protect anything you have uploaded to the SMART board.
9. Troubleshooting:
- In case of technical issues, consult the user manual or seek assistance from your organization’s IT support.
- Common problems like calibration errors or connection issues can usually be resolved with some guidance.
- Kate Shively is happy to assist you with your SMART technology. Please email or set an appointment with her via her booking page.
10. Practice:
- Like any tool, mastering the use of a SMART Board takes practice. Experiment with different features and incorporate interactive elements into your teaching or presentations gradually.
- Ask your students to learn how to do some of the functions and situate them to MODEL for you and their peers.
- Assign specific skills they need to learn and then demonstrate – or require them to TEACH YOU and their peers.
Remember that SMART Boards are designed to facilitate engagement, collaboration, and dynamic learning experiences. As you become more comfortable with their features, you’ll discover new ways to make your lessons and presentations more interactive and effective. Enjoy your journey into the world of SMART Boards!
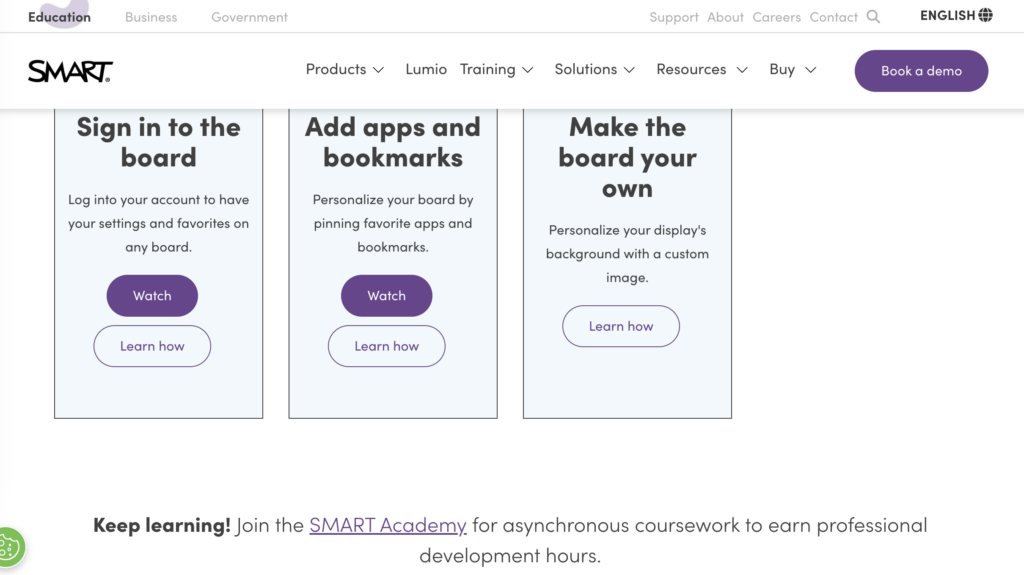
SMART BOARD PLAYLIST
Getting Started with SMART Boards
These videos provide a basic introduction to SMART Boards, including an overview of its features, components, and how to interact with the board.
Exploring Interactive Features on the SMART Board
This video demonstrates the fundamental interactive features of the SMART Board, such as touch gestures, writing with digital ink, selecting objects, and using the on-screen keyboard.
SMART Notebook Software
This video provides an overview of SMART Notebook, the software used to create and deliver interactive lessons. It covers creating new pages, adding text, images, and multimedia, and using basic tools like pens, erasers, and shapes.